Be sure you have properly processed your product images for upload. If you need help to do a bulk upload of images, see this previous post on how to upload images to WordPress.
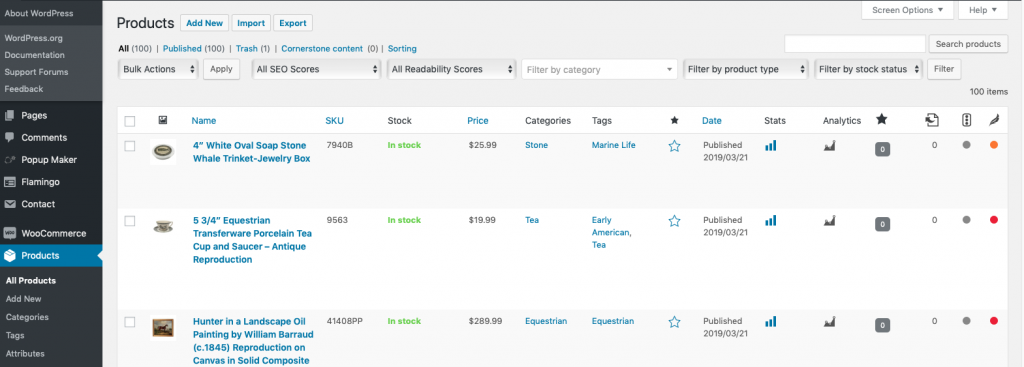
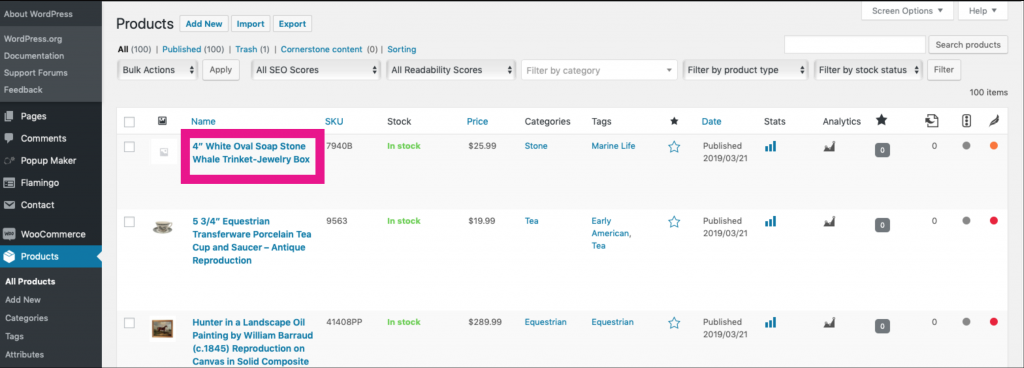
To update or link product images, choose the product you would like to edit. From the WordPress Dashboard>click Products and then click the product Name you would like to edit.
Scroll down to the bottom of the bottom of the Edit product screen and click set featured image:
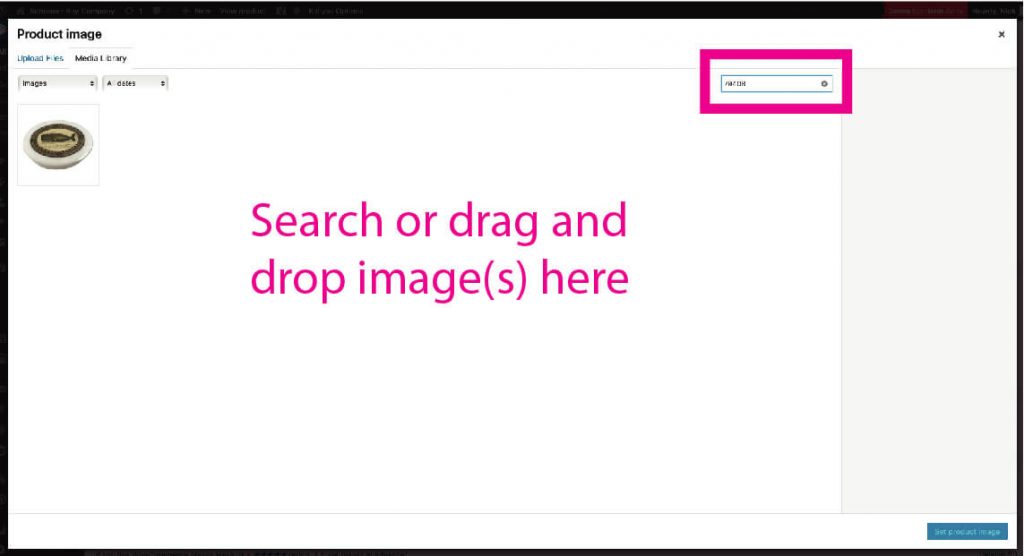
To add a main product image, click the Set product image link in the edit product screen. Search to find the image if you have already loaded it. If you are doing a single product update and have not yet uploaded your image, just drag the image from the folder on your computer to the Media Library tab in your browser and WordPress will upload it and select it for you (how cool is that?).
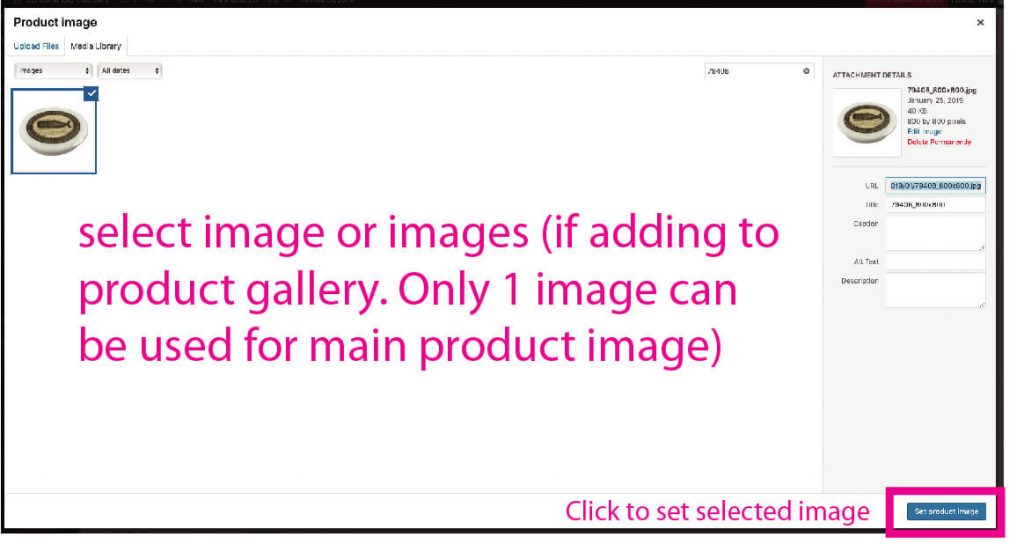
For Product gallery images, you can choose multiple images and do the same thing. Make sure all of the images you want to add are selected before clicking Set Selected Image(s).
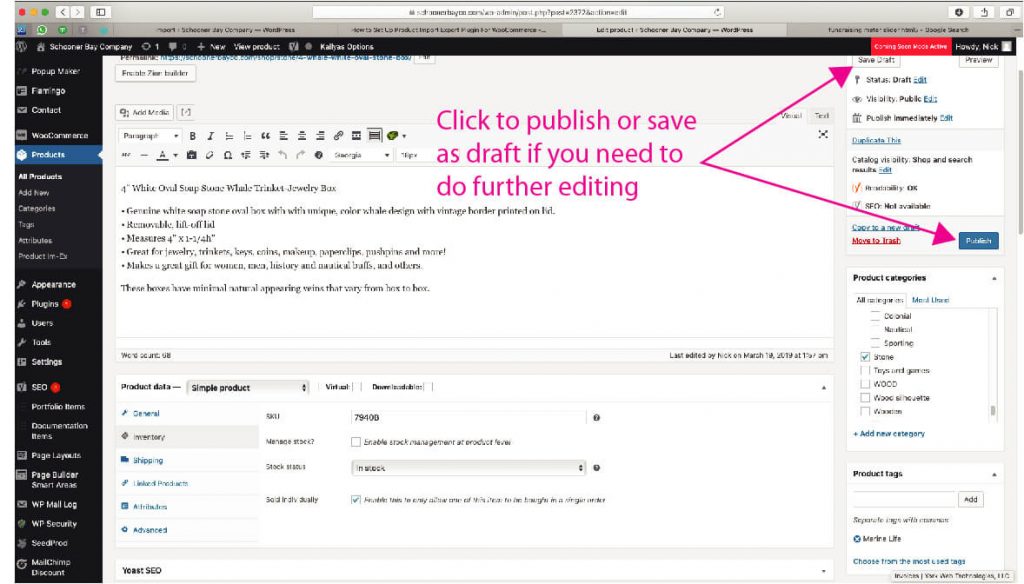
Now you are ready to save the Product Image update, click Save Draft if you have more editing to do, or click Publish to make the product available for sale.
The main product image thumbnail will also now be visible in the Products screen.